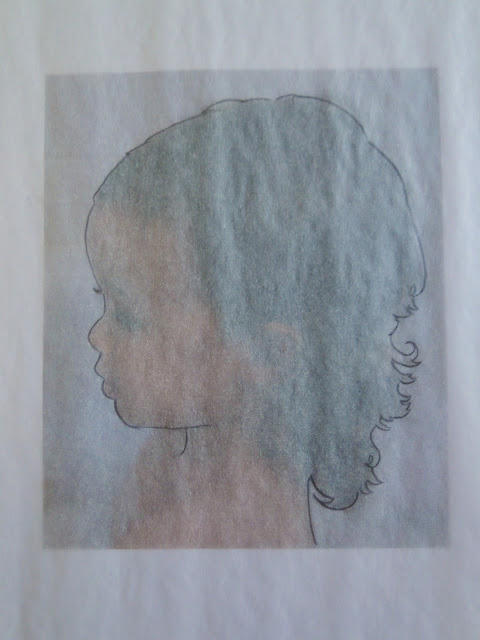
Step 1: Take a photo of your subject's profile (If you are photographing a toddler it's best to do this candidly if possible - I took my photo while she was in the bathtub :))
Step 2: Open the photo on your computer and go to the print screen. Resize the photo's scale. I tried a few different sizes, but 30% worked best for the frame that I was using.
Step 3: Print your photo and make sure it fits properly in the frame you have chosen:
Step 4: Place a piece of tracing paper over your photo and trace around the outside edge of the subject:
Step 5: On a piece of watercolor paper, trace the back insert of your frame:
Step 6: Flip your tracing paper over and center it on the shape you just traced. Trace over the your drawing to transfer the pencil lines onto the watercolor paper.
Step 7: Lighten your pencil lines with an eraser. You should be able to faintly see the lines, but you don't want them to be visible after you paint.
Step 8: Fill in your drawing using the medium and color of your choice. I chose watercolor paint (Grumbacher Indian Yellow). Use wide, even strokes for an even finish, but if you can see some of your brush strokes it's okay - it just gives it a painterly look.
Step 9: Cut out your shape
Step 10: Frame and hang!
From start to finish this entire project took me less than half an hour. I've been wanting to do this for ages and now I can't believe I didn't do it sooner - it was so quick and easy. Happy painting!
xo, Lauren


Such a pretty, simple project... I made the one of our son so much more complicated!
ReplyDeletelooks great! I still need to finish my silhouette project! aahhh, someday!
ReplyDeleteI love this! She has such a cute profile too :)
ReplyDeleteGreat project and the silhouette turned out so cute!
ReplyDeleteHad to share: http://minipiccolini.com/2012/05/diy-watercolour-silhouette/